


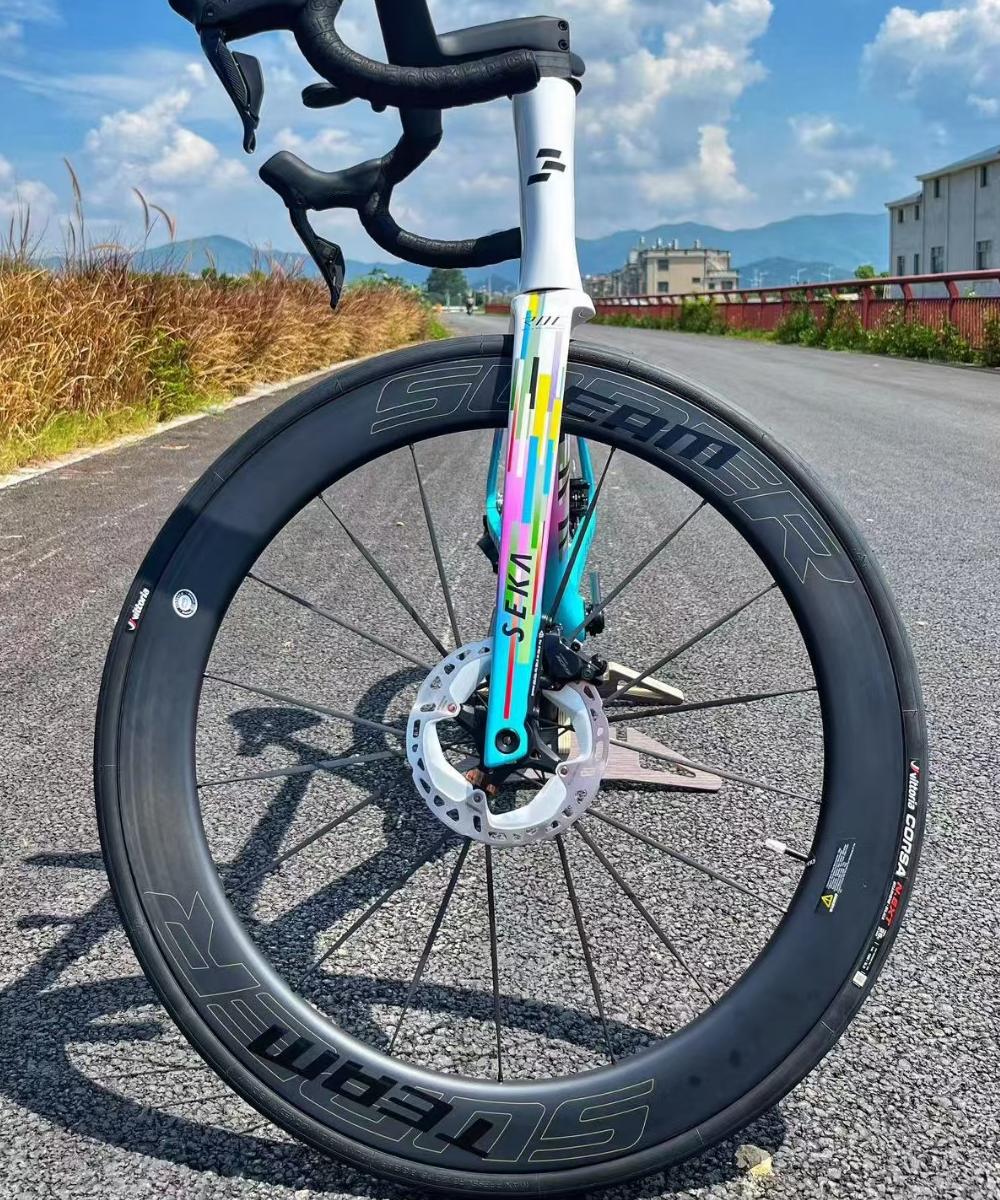
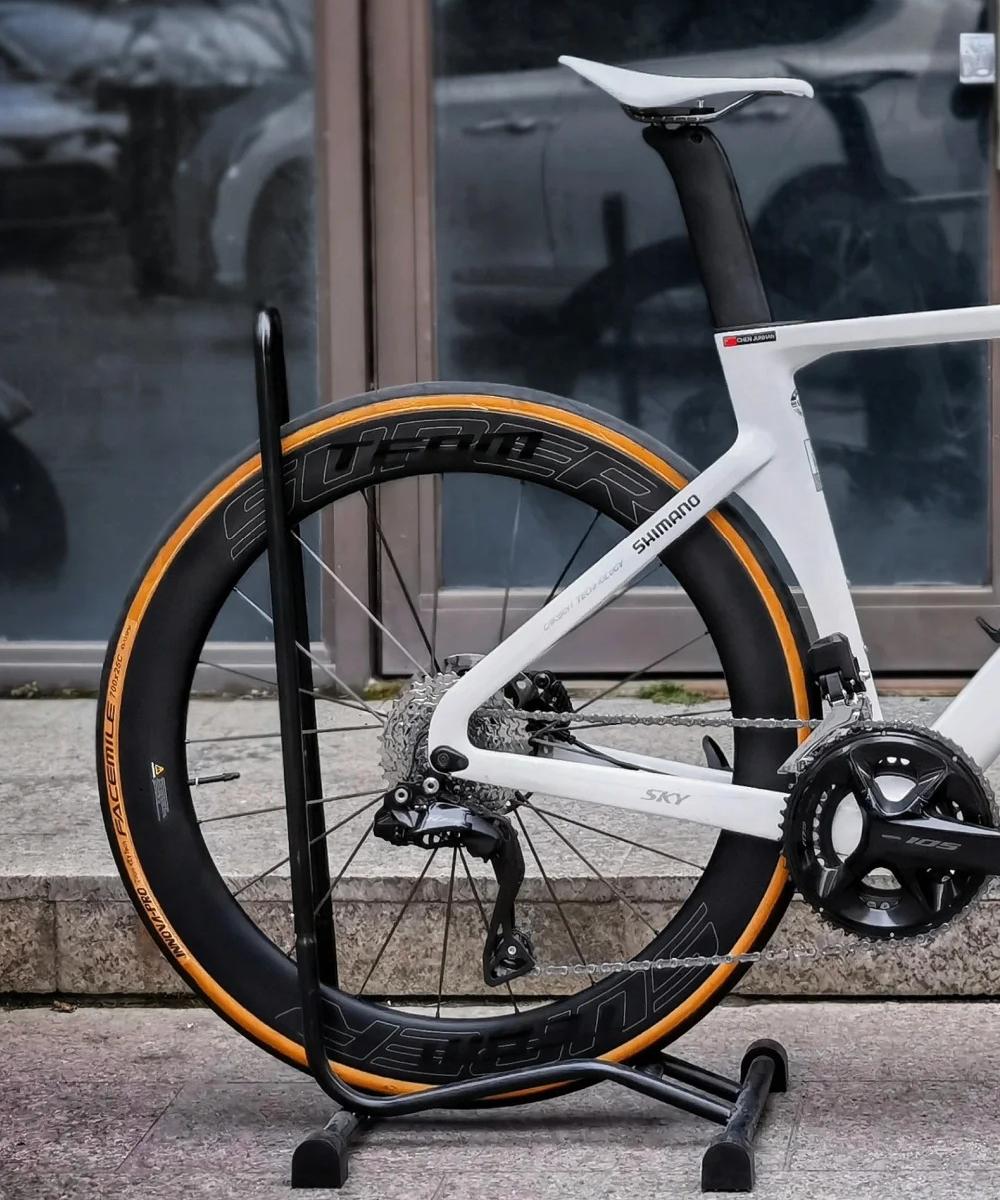
Tools to Prevent Sidewall Damage During Installation
Installing tires—especially tight tubeless or high-performance road and gravel tires—is one of the most common moments when sidewall damage occurs. Small cuts, pinches, or abrasions may not be immediately visible, but they can shorten tire life or cause sudden failures later. Using the right tools, and using them correctly, makes a significant difference.
Why sidewall damage happens during installation
Most sidewall damage occurs due to excessive force, sharp tools, or poor technique. Common causes include levering against the tire sidewall instead of the bead, using metal tools, rushing the final section of the tire, or working with under-lubricated beads on carbon rims. Modern tires are strong, but their sidewalls are thinner than ever for performance reasons.
Plastic tire levers with smooth edges
A quality plastic tire lever is the single most important tool for protecting sidewalls. Look for levers made from reinforced nylon or composite materials with rounded, polished edges. These reduce the chance of cutting or pinching the tire when prying the bead over the rim.
Avoid metal tire levers entirely. Even slight slips can slice sidewalls or damage carbon rims.
Bead jack tools for tight tires
For especially tight tire and rim combinations, a bead jack tool is far safer than forcing the tire with standard levers. Bead jacks lift the bead vertically over the rim hook instead of dragging it sideways across the sidewall.
This controlled motion greatly reduces stress on the tire casing and minimizes the risk of tearing the sidewall near the bead.
Tire mounting lubricant or soapy water
Dry installation dramatically increases friction, making sidewall damage more likely. A small amount of tire mounting lubricant, diluted dish soap, or dedicated tubeless mounting fluid allows the bead to slide smoothly into place.
Apply lubricant lightly to the bead area only. Excessive liquid inside the tire should be avoided, as it can dilute sealant later.
Valve core removal tools
Removing the valve core during installation allows trapped air to escape, making it easier to seat the final section of the tire without excessive force. Less force means less stress on the sidewall.
This is a small step, but it significantly reduces the temptation to over-lever the tire.
Gloves for better grip and control
Thin mechanic’s gloves improve grip and protect your hands, allowing you to roll the tire onto the rim using controlled pressure instead of sudden jerks. Better control means fewer slips that could damage the sidewall.
Bare hands are fine for loose tires, but gloves help when tolerances are tight.
Rim protectors for carbon wheels
Rim protectors are small plastic inserts that sit between the tire lever and the rim edge. While designed to protect rims, they also help keep levers positioned correctly, reducing the chance of digging into the sidewall.
They are especially useful on deep-section carbon rims with sharp bead shelves.
Proper work surface and lighting
Good lighting helps you see exactly where the lever contacts the tire. A stable work surface or wheel truing stand prevents the wheel from shifting unexpectedly during installation, which often causes tool slips and sidewall nicks.
While not a “tool” in the traditional sense, workspace setup directly affects installation safety.
Final thoughts
Preventing sidewall damage during tire installation is less about strength and more about control. Plastic levers, bead jack tools, light lubrication, and proper technique work together to protect both tire and rim. Investing in the right tools not only saves money on ruined tires, but also ensures your wheels are safe and reliable from the very first ride.