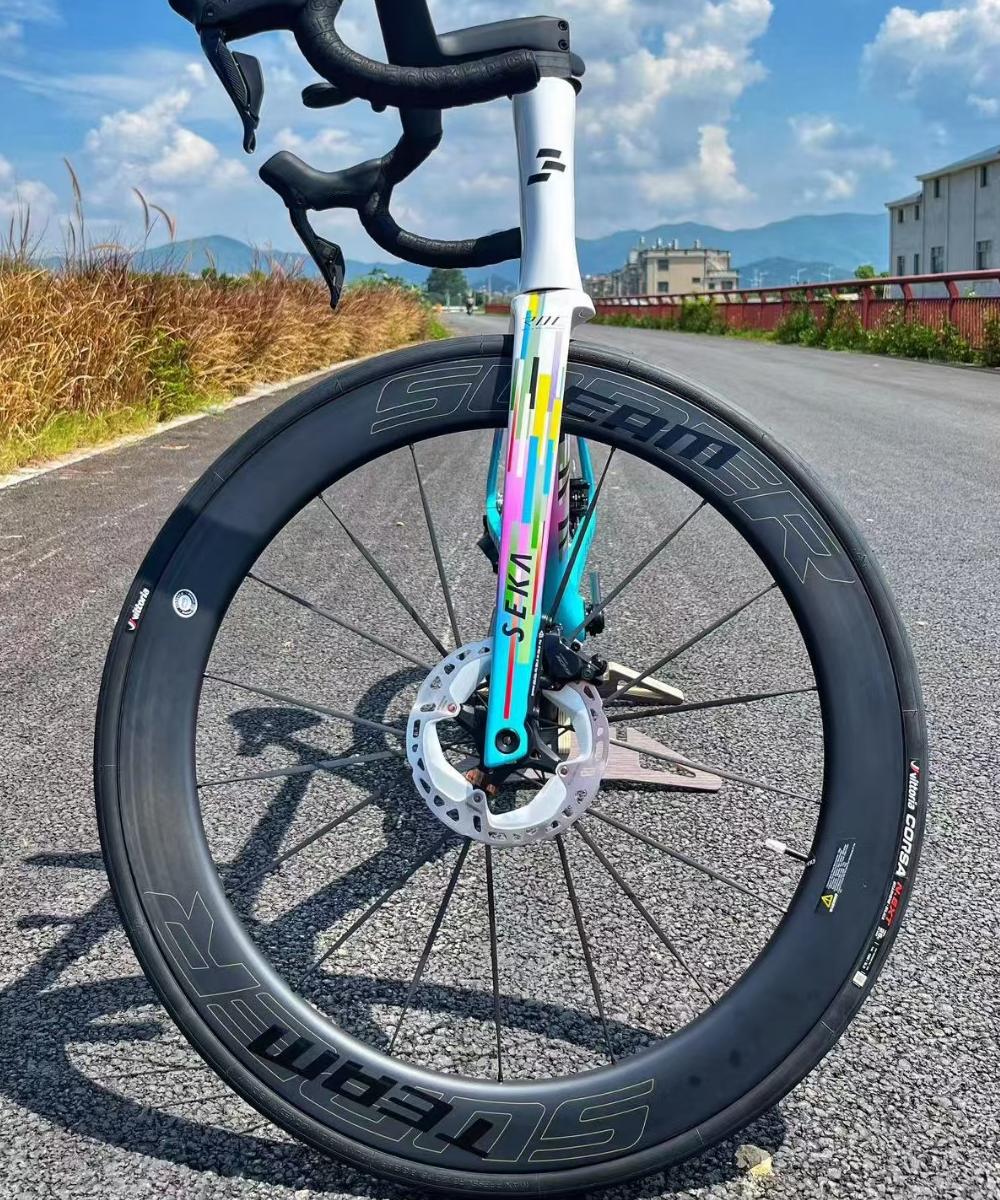
How to Adjust Spoke Tension for Optimized Power Transfer
Introduction
Spoke tension plays a crucial role in the performance and durability of your bicycle wheel. Properly adjusted spokes ensure the wheel stays true, handles impacts well, and most importantly, transfers your pedaling power efficiently to the road. Incorrect spoke tension can cause wheel flex, reduced power transfer, and premature spoke or rim failure.
In this guide, we’ll explain how to adjust spoke tension correctly to optimize power transfer and maintain a strong, reliable wheelset.
Why Spoke Tension Matters for Power Transfer
Spokes connect the hub to the rim, creating the wheel’s structural integrity. When you pedal, the force is transmitted through the hub and spokes to the rim, propelling the bike forward.
High and balanced tension increases wheel stiffness, minimizing flex during pedaling.
Uneven tension can cause wheel wobble or loss of power due to rim deformation.
Too loose spokes reduce stiffness, causing energy loss and potential damage.
Too tight spokes risk snapping and may damage the rim or hub flange.
Proper spoke tension is therefore essential for an efficient, responsive ride.
Tools Needed for Spoke Tension Adjustment
Spoke wrench: the right size for your spoke nipples.
Tensiometer (optional but recommended): measures the actual tension in newtons or kilograms.
True stand or bike frame: to check wheel alignment.
Marker or tape: to mark problem areas.
Step-by-Step Guide to Adjusting Spoke Tension
1. Inspect Your Wheel First
Spin the wheel and check for:
Side-to-side wobble (lateral trueness).
Up-and-down hops (radial trueness).
Uneven tension by plucking spokes (a loose spoke sounds lower pitched).
Identify any significant issues before adjusting the tension.
2. Use a Tensiometer to Measure Tension
If available, measure spoke tension to get an accurate baseline. Compare readings against manufacturer specifications for your wheelset or spoke type.
3. Tighten or Loosen Spokes Evenly
To increase tension and reduce flex, turn the spoke nipples clockwise (usually a quarter turn at a time).
To decrease tension, turn the nipples counterclockwise.
Adjust spokes in small increments, alternating spokes on opposite sides of the wheel to keep balance and avoid distortion.
4. Focus on the Drive Side for Power Transfer
The drive side spokes typically carry higher tension to counteract cassette forces. Ensure these spokes are tensioned correctly and evenly to maintain optimal power transfer.
5. Check Wheel Trueness Frequently
After adjustments, check that the wheel remains true. Minor lateral corrections may be necessary alongside tension tuning.
6. Avoid Over-Tensioning
Over-tightening spokes can cause:
Spoke breakage.
Rim damage.
Hub flange cracking.
Always stay within recommended tension ranges.
Tips for Optimal Spoke Tension Adjustment
Balance is key: Uneven spoke tension can cause wheel failure even if the average tension is high.
Regular maintenance: Check tension periodically, especially after rough rides or wheel impacts.
Professional help: If unsure, have a skilled wheelbuilder or mechanic adjust spoke tension for you.
Upgrade spokes or rims: High-quality components can better handle optimal tension levels.
Conclusion
Adjusting spoke tension properly is essential for maximizing power transfer, wheel strength, and overall bike performance. By using the right tools, following a systematic approach, and maintaining balance, you can ensure your wheels stay true, strong, and responsive, giving you a smoother and more efficient ride.
Remember, well-tensioned spokes are the backbone of any high-performance wheelset. Take the time to get it right, and your bike will reward you with improved power delivery and reliability on every ride.


