
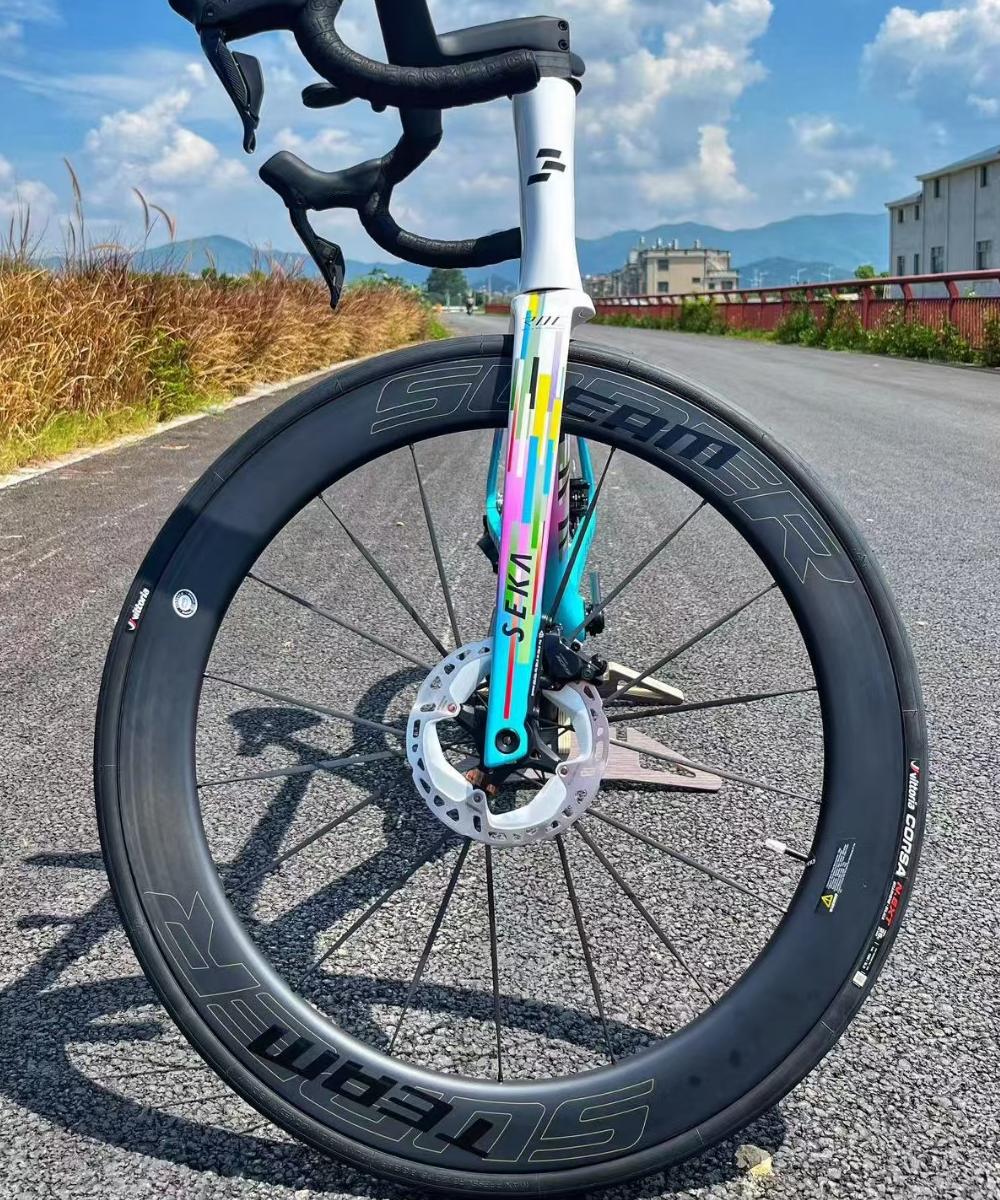

How to Replace Broken Spokes on Disc Brake Wheelsets
Replacing a broken spoke on a disc brake wheelset requires careful technique and attention to tension balance. Because disc wheels experience strong braking forces on one side, spoke tension plays a major role in rim stability and long-term durability. A single broken spoke can quickly lead to wobble, uneven stress, and potential rim damage if not repaired correctly. This guide explains how to replace a broken spoke safely and bring your wheel back to proper alignment.
Why Spokes Break on Disc Brake Wheels
Disc brake wheelsets place higher torsional loads on spokes, especially on the rotor side. Sudden impacts, fatigue, or incorrect tension can cause a spoke to snap. Once a spoke breaks, tension immediately shifts to the surrounding spokes, often pulling the rim out of true. Replacing the damaged spoke quickly prevents further issues.
Tools You Need
To replace a spoke, you’ll need a spoke wrench that matches your nipple size, a replacement spoke of the correct length and type, a screwdriver or nipple driver for internal nipples, a spoke holder for bladed spokes, and, optionally, a truing stand. If you don’t have a truing stand, the bike frame works as a functional alternative.
Step 1: Remove the Broken Spoke
If the spoke broke at the hub, simply slide the remaining piece out. If it broke at the nipple, you may need to remove the tire and rim tape to access the nipple from inside the rim. Remove any debris so it doesn’t interfere with reinstallation.
Step 2: Install the New Spoke
Match the spoke with the same length, gauge, and type used on your wheel. Thread it through the hub following the same lacing pattern as the other spokes. Install the nipple through the rim or into the internal channel, depending on your wheel design. Thread it until the spoke has light tension but is not yet tight.
Step 3: Begin Tensioning
Use your spoke wrench to gradually tighten the nipple. Bring the new spoke to the approximate tension of the surrounding spokes. At this stage, avoid overtightening. The goal is to reintroduce balance to the wheel without pulling the rim out of shape.
Step 4: True the Wheel Laterally
Spin the wheel and observe side-to-side wobble. Tighten or loosen the surrounding spokes in very small increments—usually one-quarter turn at a time. Disc wheels often pull toward the rotor side when a spoke breaks, so be patient and work opposite the deviation.
Step 5: Correct Radial Hop
If the wheel has an up-and-down bounce, make small adjustments to groups of spokes. Radial inconsistencies often appear after replacing a spoke on lightweight rims, so check carefully.
Step 6: Balance the Tension
Once the wheel is mostly true, check spoke tension by feel or with a tension meter if available. Spokes on disc brake wheels should follow the manufacturer’s tension chart closely. Ensure no single spoke is much tighter or looser than the others, especially on the rotor side.
Step 7: Reinstall Tape and Tire
Reapply rim tape carefully, reinstall the tire, and inflate it. Spin the wheel again to ensure it remains true under normal pressure. If everything looks aligned, the repair is complete.
Final Thoughts
Replacing a broken spoke on a disc brake wheelset isn’t difficult, but it must be done with precision. Correct spoke length, careful tensioning, and proper truing are essential to restoring wheel performance and longevity. With patience and the right tools, you can confidently repair spoke issues and keep your disc brake wheelset strong, reliable, and ready for the road.