
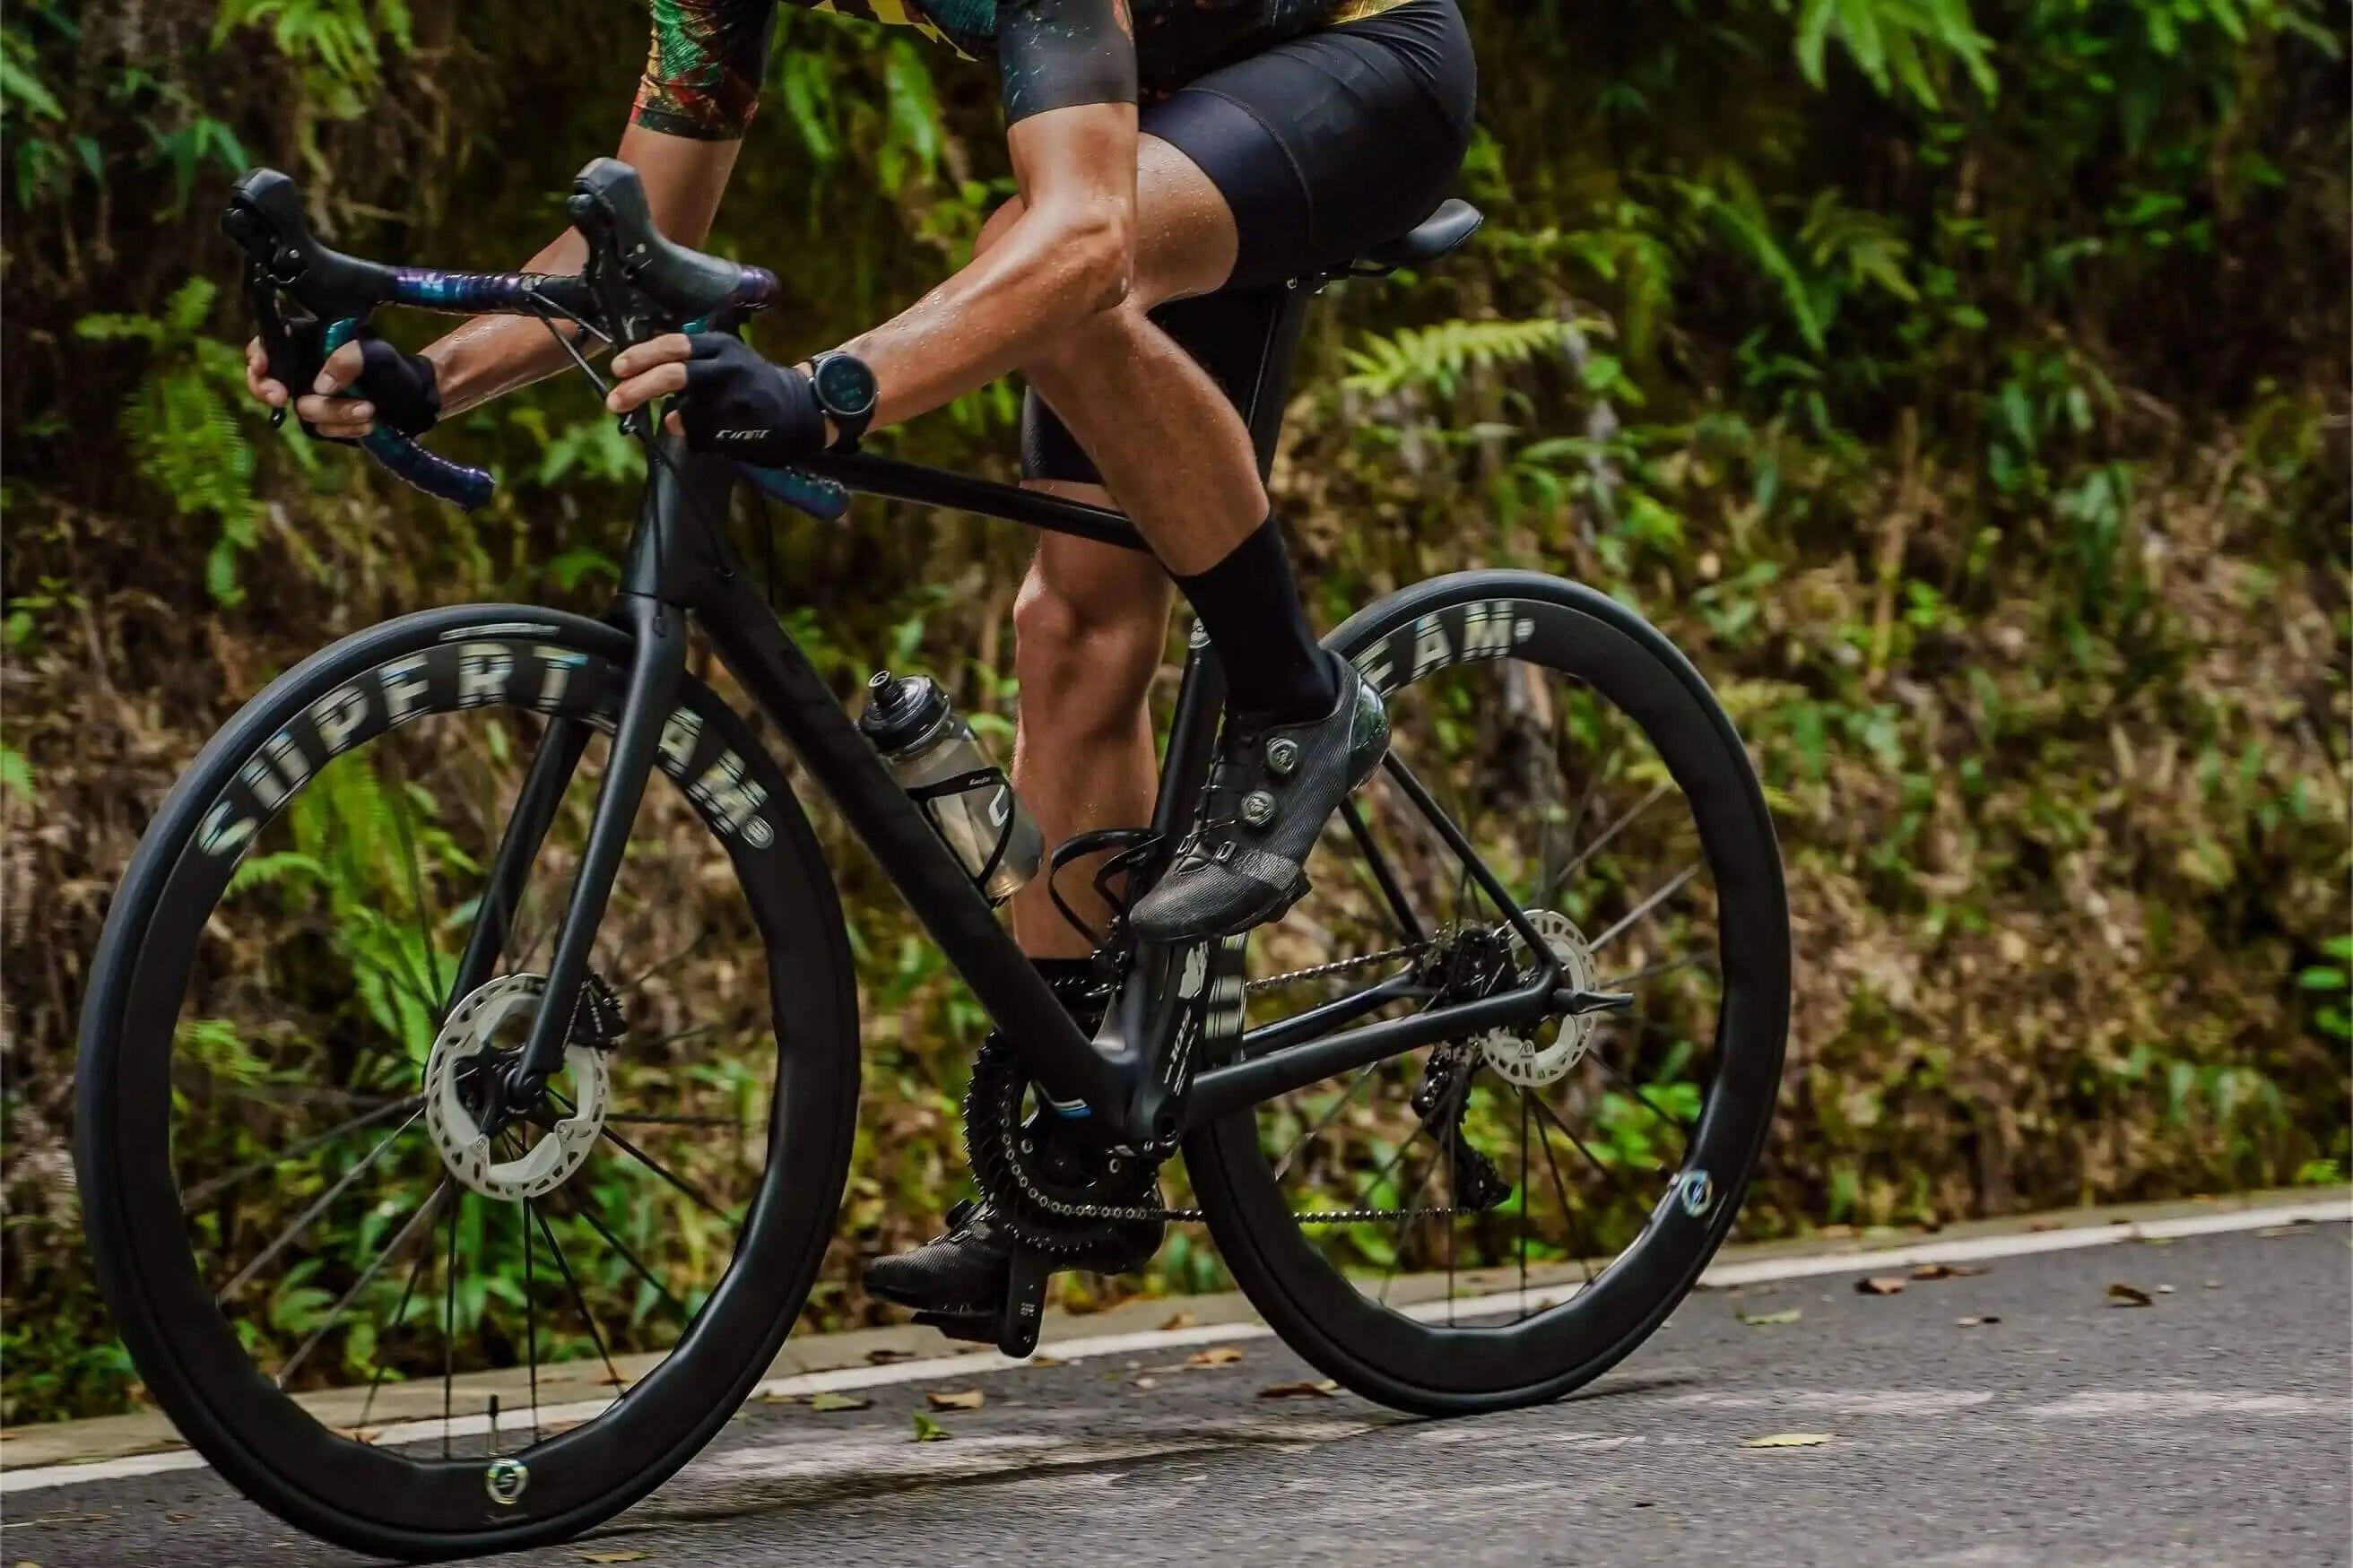
Dear cyclists, have you ever been troubled by the winding of bicycle handlebar tape? You don't want to pay expensive labor fees, but you don't wrap it properly, which not only affects the appearance but also may reduce riding comfort.
Don't worry, today we will analyze in detail the 8 simple steps of bicycle handlebar tape wrapping, which will instantly upgrade your bike!
1. Remove the old tape, the prelude to a new one

First of all, removing the old handlebar tape is the key first step. Use solvents such as isopropyl alcohol to carefully clean the handlebars to remove residual sticky substances. At the same time, check the area around the gear brake and the overall condition of the handlebars to ensure that the wire tube or cable housing is firmly fixed with electrical tape, laying a good foundation for the installation of the new handlebar tape.
2. "Filling strips" are used, details win

Most handlebar tapes are equipped with special "filling strips", and their role should not be underestimated.
Before wrapping, accurately measure and cut the gap strips so that they just cover the gap behind the gear brake, without exceeding or missing.
Place the cut gap-filling strips properly so that they can be used at any time during the winding process. This detail will greatly improve the perfection of the winding.
3. Winding the new tape, the direction is particular

Wrap from the bottom of the handlebar toward the hand lever, clockwise on the drive side and counterclockwise on the non-drive side. This unique winding direction design cleverly uses the weight of the body during riding to naturally tighten the tape and enhance durability.
Maintain uniform tension when winding, pay attention to consistent gaps, flexibly adjust the overlap degree at the bend, ensure the appropriate thickness on the inside, and make the handlebar tape fit the handlebar tightly.
4. Put the handlebar end plug in place and stabilize the foundation


This not only makes the handlebar tape stable and not loose at the starting end but also provides a solid foundation for subsequent winding, making the entire winding process more coherent.
5. Hand lever area, clever winding without gaps

When you reach the hand lever area, you can choose from a variety of options.
Directly extending the wrapping is prone to leaving gaps, and the "8"-shaped wrapping may be bloated even if it is fully covered.
We recommend covering the bottom surface of the hand lever first, and then going around the inner curve and going up over the top surface so that there are no gaps and it can maintain simplicity and beauty.
6. Top extension, one-stop
After completing the wrapping of the hand lever, continue wrapping along the top of the handlebar, maintaining the rhythm and tension, so that the entire handlebar tape presents a smooth, unified visual effect and comfortable grip.
7. End cutting, exquisite finishing

Determine the endpoint of the wrapping according to the handlebar logo and overall aesthetics, and cut the end of the tape into an oblique angle.
This oblique design allows the edge of the tape to perfectly wrap around the handlebar at a flat angle, saying goodbye to the rough spiral feeling, and drawing an exquisite end to the entire wrapping work.
8. Fix and reinforce, foolproof

Finally, fix it with electrical tape or the end strip attached to the handlebar tape, double protection to prevent loosening.
First use electrical tape to prime the handlebar tape, then install the finishing parts to ensure that the handlebar tape remains stable during riding.
In addition to the winding skills, the choice of handlebar tape is also crucial. For frequent riders, it is recommended to replace the handlebar tape once or twice a year.
If the bicycle is often used on a cycling platform, it is necessary to check the condition of the handlebars regularly. You can consider replacing the gear and brake cables at the same time to protect your bike in all aspects. It is worth mentioning that the handlebar tape can be reused, but you need to pay attention to changes in viscosity. If the viscosity is weakened, torn, worn, or stained, it is recommended to replace it in time to ensure safe and comfortable riding. Master these 8 simple steps, you can also become a master of bicycle handlebar tape winding and keep your riding equipment in the best condition.

Leave a comment
All comments are moderated before being published.
This site is protected by hCaptcha and the hCaptcha Privacy Policy and Terms of Service apply.