


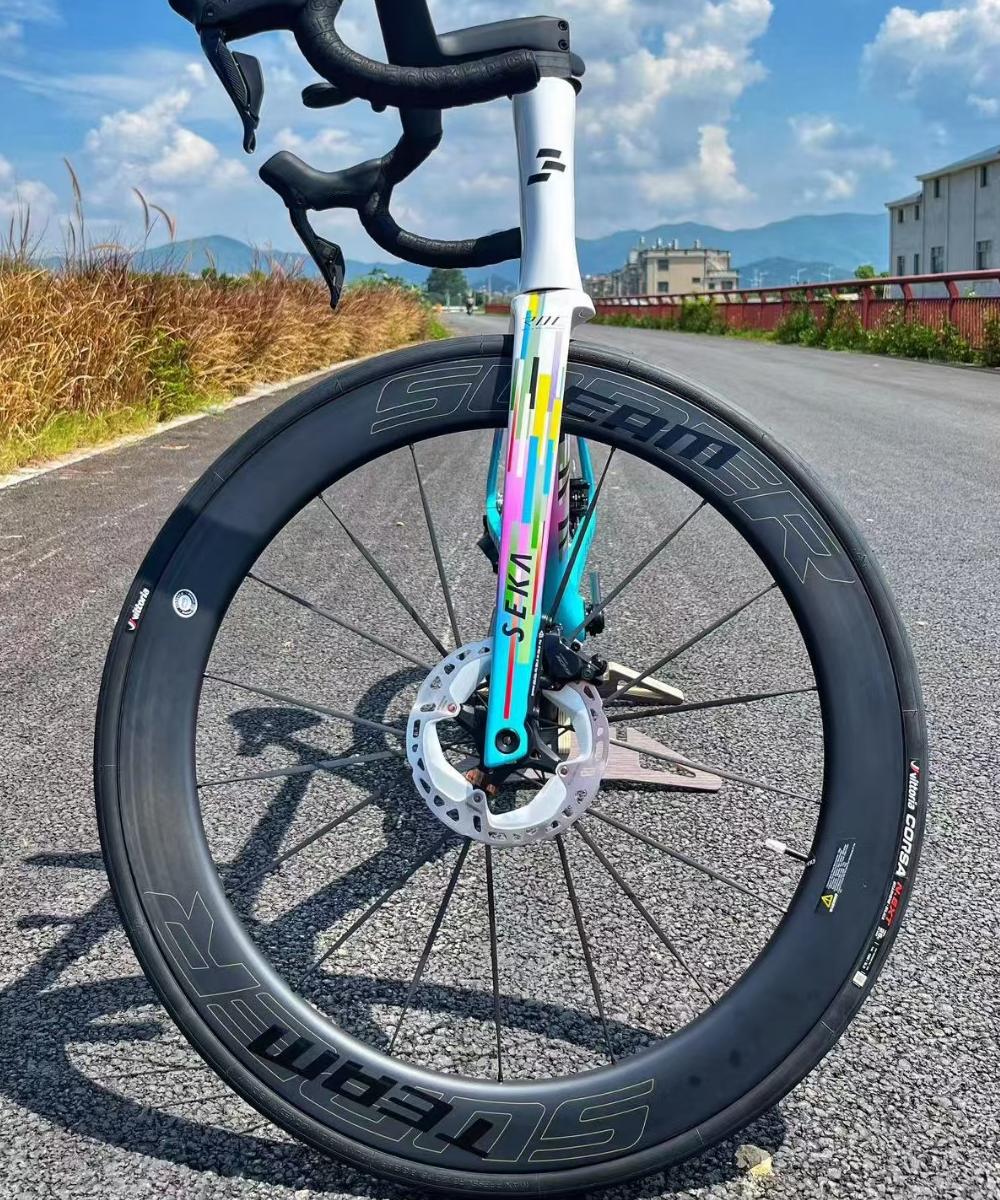
Measuring Caliper Alignment with Precision Tools
Caliper alignment is one of the most important factors in achieving smooth, silent braking. Even slight misalignment can cause rotor rub, uneven pad wear, vibration, or a spongy lever feel. While the common “loosen, squeeze, tighten” method can get you close, precision tools allow you to measure alignment more accurately and confirm that both brake pads sit evenly around the rotor. This is especially useful for riders who frequently swap wheels, mechanics working with high-tolerance race bikes, or anyone dealing with persistent brake rub issues.
The first step in measuring caliper alignment is ensuring that the wheel is fully seated. A poorly seated axle or quick-release skewer can produce misleading results. Once the wheel is secure, inspect the rotor for trueness. Precision alignment begins with a straight rotor—any wobble will make accurate measurement impossible. A truing stand is ideal, but spinning the wheel in the frame can give you a quick initial check.
Precision tools for caliper alignment include feeler gauges, laser alignment tools, rotor gap gauges, and alignment blocks. Feeler gauges are among the most useful because they allow you to measure the exact gap between the rotor and each brake pad. By comparing the clearance on both sides, you can determine whether the caliper is centered or shifted to one side. Start by inserting the thinnest blade that fits smoothly between the rotor and pad, then work up until you feel slight resistance. Record the thickness on each side to see if the gap is symmetrical.
Laser alignment tools provide another highly accurate method. These devices project a straight beam across the rotor surface, allowing you to visually check whether the caliper is positioned evenly. A misaligned caliper will show the beam drifting closer to one pad than the other. Laser tools are especially helpful for mechanics who need fast, consistent results across multiple bikes.
Another tool worth using is a caliper alignment block. These blocks temporarily take the place of the rotor and help you set the caliper perfectly square before tightening the bolts. Because the block has consistent thickness and rigidity, it eliminates the inconsistencies that may appear when aligning directly on the rotor.
Once you’ve measured the alignment, adjust the caliper as needed. Loosen the mounting bolts slightly, make micro-moves based on your tool’s readings, and tighten the bolts gradually and evenly. Using a torque wrench ensures that the caliper does not twist or shift while tightening. After securing the bolts, recheck the gaps with your precision tools to confirm that the adjustment is correct.
Finally, test the results by spinning the wheel and applying the brakes lightly. The rotor should run silently through the pads with no scraping or pulsing. If noise remains, recheck the measurements or examine other causes such as sticky pistons, uneven pad wear, or rotor imperfections.
Using precision tools for caliper alignment helps eliminate guesswork and ensures professional-level accuracy. Whether you’re solving persistent brake rub or fine-tuning a performance bike, these tools provide reliable measurements that lead to smoother braking and a quieter, more enjoyable ride.