


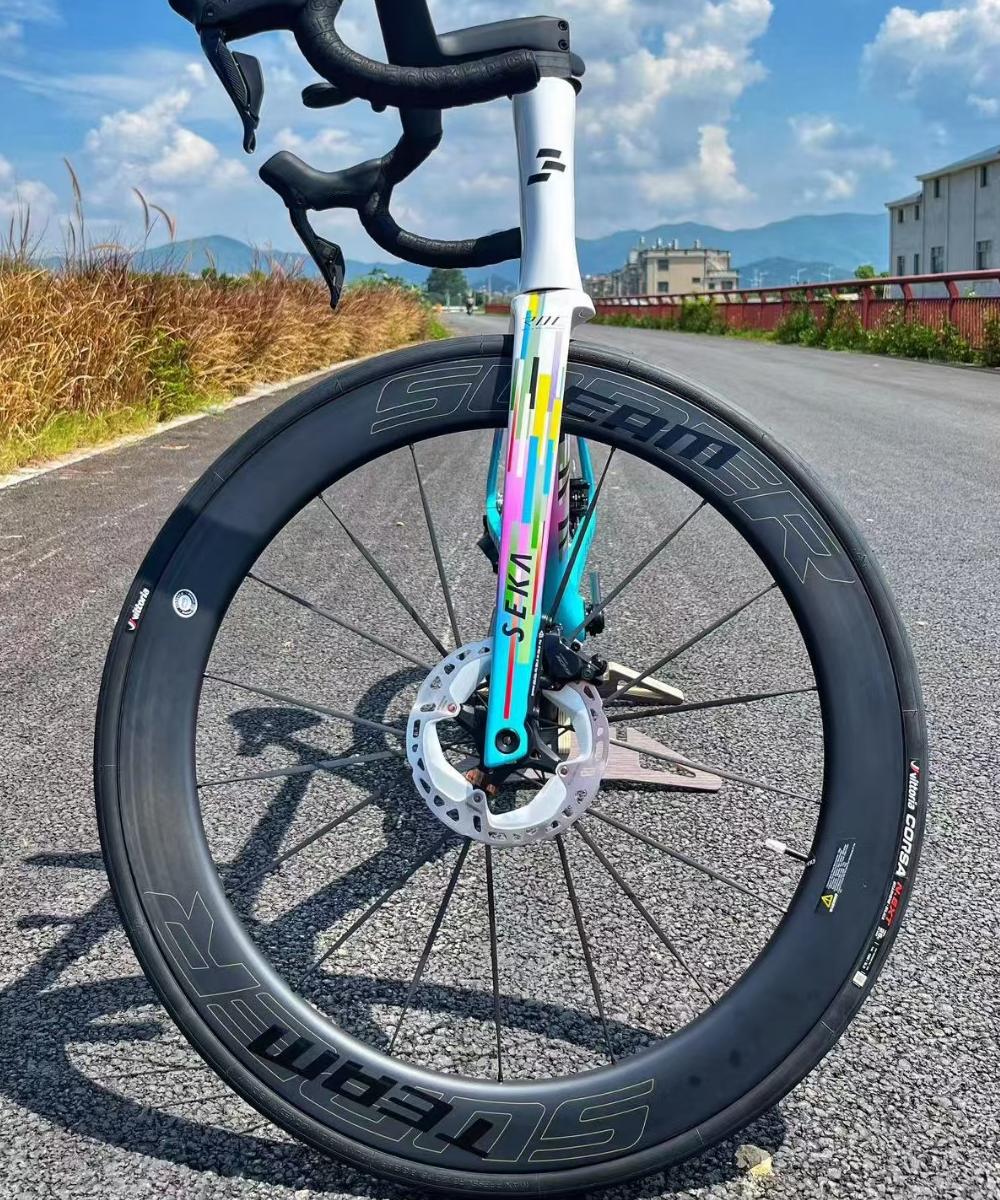

How to Rebuild a Carbon Wheel After a Minor Crash
Crashes happen—even to the most careful riders. While modern carbon wheels are tougher than ever, a minor crash can still leave them slightly misaligned, scuffed, or structurally stressed. Knowing how to safely inspect and rebuild your carbon wheel afterward is essential to restore performance and ensure safety on future rides.
1. Start with a Detailed Visual Inspection
Before reaching for any tools, clean the wheel thoroughly with a soft cloth and mild soap. Dirt can hide cracks and surface damage. Once it’s clean, inspect the rim carefully under good lighting. Look for:
Hairline cracks around the spoke holes or brake track (for rim brake wheels)
White stress marks in the resin
Small delaminations or blisters on the surface
If you notice deep cracks, frayed fibers, or delamination, stop immediately—those indicate structural damage that cannot be safely repaired at home.
2. Check Rim Roundness and Lateral True
Mount the wheel in a truing stand (or in the bike frame if you don’t have one) and spin it slowly. Watch for side-to-side wobbles or hops in the rim.
Minor lateral runout (<1mm) can often be corrected with gentle spoke adjustments.
Radial hops may indicate a slight deformation in the rim bed.
Use a high-quality spoke wrench and make micro-adjustments: tighten on the side that’s “out,” and loosen the opposite side in equal measure. Work gradually—carbon rims don’t flex like alloy, and over-tensioning a single spoke can cause cracking.
3. Inspect and Replace Damaged Spokes or Nipples
If a spoke is bent, corroded, or loose after the crash, replace it. Always use identical replacement spokes to maintain tension balance. For carbon rims, use brass nipples instead of alloy if possible—they reduce the risk of corrosion and are easier to tension precisely.
4. Examine the Hub and Bearings
A crash can transfer impact loads to the hub shell or bearings. Spin the hub by hand: it should rotate smoothly without grinding or play. If you feel roughness, open the hub, clean out debris, and re-grease or replace bearings. Also, check that the axle is straight—any bend can cause poor alignment and increased drag.
5. Retension and Stress-Relieve the Wheel
Once all components are inspected and replaced as needed, bring the wheel up to even tension. Use a tension meter to ensure the values are within the manufacturer’s recommended range. After reaching final true, apply gentle side loads to the spokes to release wind-up stress. This step prevents the wheel from drifting out of true after your first ride.
6. Test Under Light Load Before Full Use
Before hitting the road, reinstall the wheel and take a slow, short spin. Listen for creaks or pops—those could indicate uneven tension or a hidden crack. If everything feels smooth and solid, you can gradually return to full riding intensity.
Conclusion
A minor crash doesn’t necessarily mean the end of your carbon wheel. With careful inspection, precise tensioning, and a bit of patience, most wheels can be safely rebuilt to near-perfect condition. However, when in doubt, always consult a professional wheel builder or send the rim for ultrasonic or dye-penetrant testing. In cycling, peace of mind is worth more than saving a few grams.