


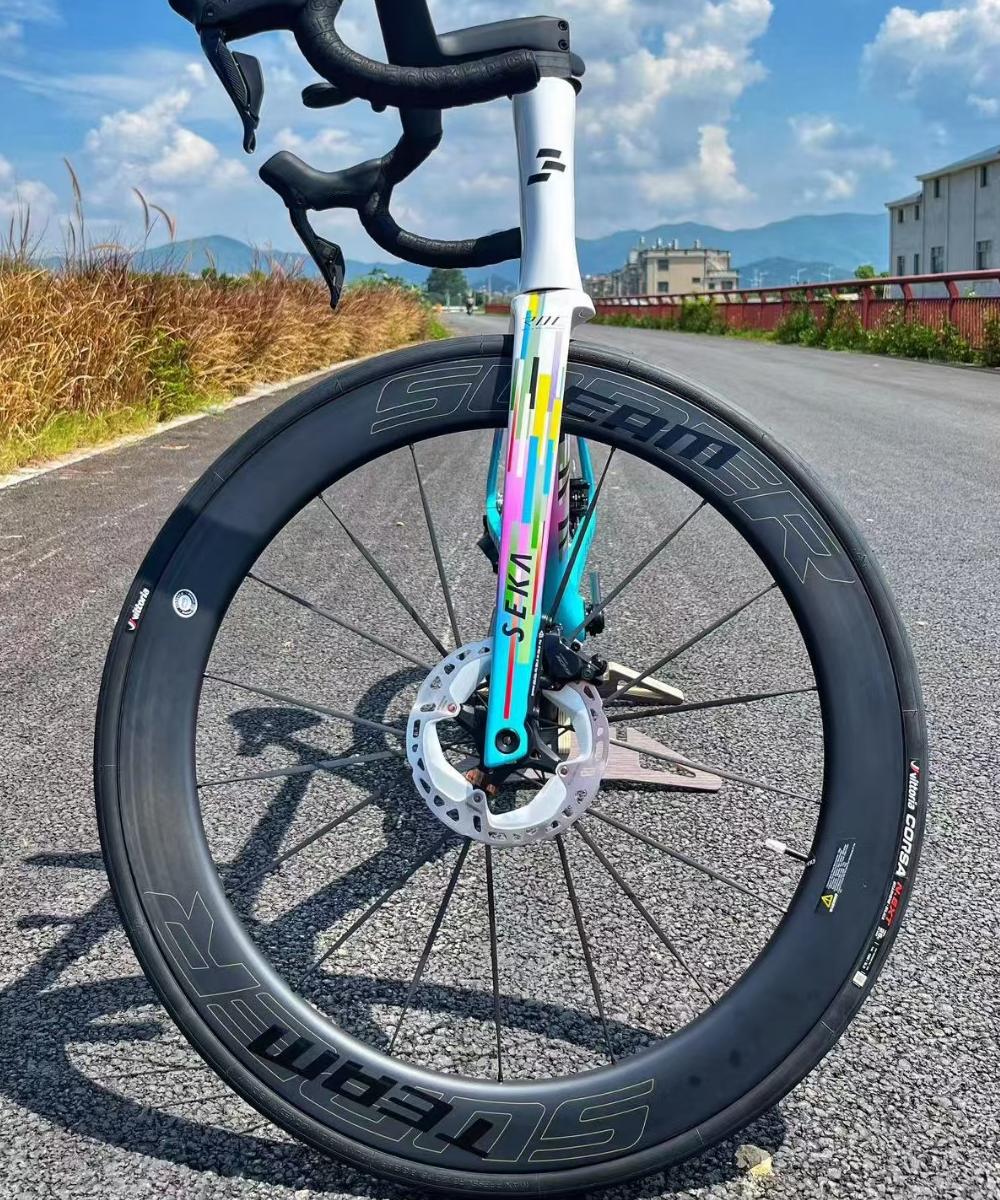

DIY Wheel Care Checklist Before Every Long Ride
A long ride demands more from your wheels than a quick spin around town. Whether you're preparing for a big climb, an all-day endurance session, or a weekend adventure, giving your wheels a quick but thorough inspection can prevent mechanical issues and keep your ride smooth and safe. Use this DIY checklist to make sure your wheelset—especially a carbon road or gravel wheelset—is ready for the kilometers ahead.
1. Check Tire Pressure
Start with the basics.
Inflate your tires to the recommended pressure for your wheel and tire size.
Adjust based on road conditions and your weight.
Look for slow leaks or sidewall cuts.
Why it matters: Proper pressure improves rolling efficiency, comfort, and reduces the chance of pinch flats.
2. Inspect Tire Tread and Sidewalls
Carefully rotate the wheel and look for:
Embedded glass or stones
Cuts, bulges, or uneven wear
Worn-out tread on race tires
Tip: Remove debris with a small pick before it becomes a puncture risk.
3. Test Spoke Tension by Hand
You don't need fancy tools to spot problems.
Pluck or squeeze pairs of spokes to feel for unusually loose or overly tight ones.
Check both sides of the wheel for consistency.
Reason: Inconsistent tension can lead to poor handling, premature bearing wear, or wheels going out of true during long rides.
4. Spin the Wheel to Check for Trueness
Lift your bike or use a stand.
Spin the wheel and check for left-right wobbles.
Look for vertical hops.
Make sure the wheel spins freely without rubbing the brake pads or frame.
If rubbing occurs: Mark the spot so your mechanic—or you, if confident—can true the wheel.
5. Inspect Rim Brake Tracks or Disc Rotors
For rim brake wheels:
Check for debris stuck on the track.
Make sure no severe discoloration or surface damage is present.
For disc brake wheels:
Ensure rotors are clean and not warped.
Look for oil contamination or deep scratches.
6. Confirm Brake Pad Condition
Carbon rims require clean, dedicated carbon-specific brake pads.
Look for glazing, embedded debris, or uneven wear.
Ensure pads hit the rim correctly—not too high, not too low.
Good pads → consistent braking feel on long descents.
7. Check Hub Smoothness
Grab the wheel at the top and bottom and gently rock it.
No noticeable play should be present.
Spin the wheel—bearings should feel smooth and silent.
If you feel grinding: You may need to service or replace bearings soon.
8. Secure Quick-Release or Thru-Axles
A loose axle can be dangerous.
Make sure your QR lever closes firmly
For thru-axles, tighten to the recommended torque.
Safety check, always.
9. Look for Cracks or Surface Damage on Carbon Rims
Especially after rough roads or gravel sections.
Check around spoke holes, valve hole, and brake track.
Look for tiny cracks, white lines, or soft spots.
Early detection prevents catastrophic failure.
10. Clean and Wipe Down Your Wheelset
A quick wipe helps spot issues you might miss.
Clean the rims and spokes.
Wipe the hubs and check seals.
Remove grime from brake tracks or rotors.
Cleaner wheels = easier inspection + better reliability.
Final Thoughts
A five-minute checklist can save you from flats, wobbles, poor braking, or mid-ride mechanical failures. Make this DIY wheel care routine part of your pre-ride ritual, and your carbon wheels will stay fast, safe, and reliable for every long ride.
If you need, I can also provide:
A shorter “print-friendly” checklist
A Chinese version
A more detailed, SEO-optimized version for your Superteam blog